How to Use Virtual Try-On More Effectively
Prepare clearer photos and garment images, generate a visual preview, and review artifacts before using it for outfit decisions.
Add a person photo and a garment image first. Create a free account only when you are ready to generate.
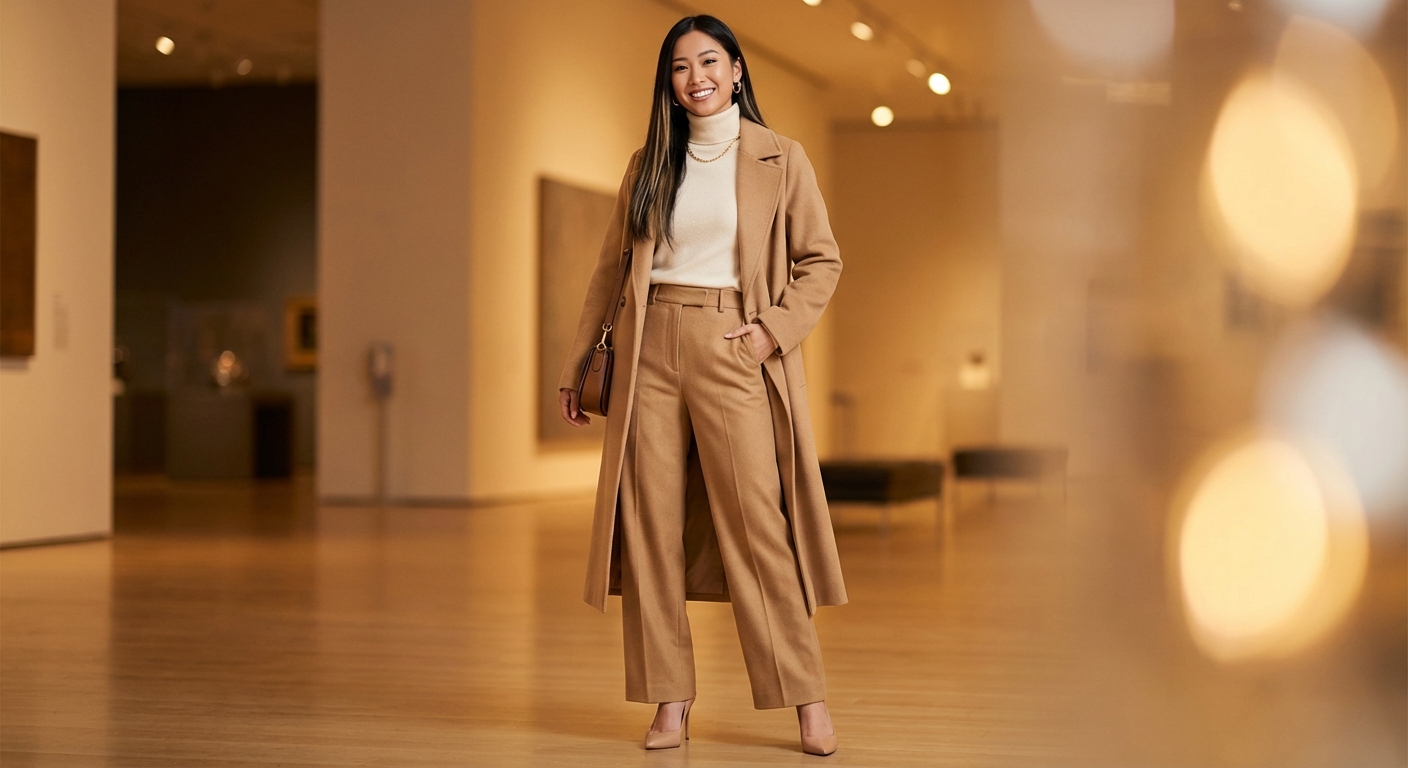
What You Need
- Your photo: A clear front-facing full-body or upper-body image with one person visible.
- Garment image: A product photo or flat lay that shows the complete item and its edges.
Step 1: Prepare Your Photo
Use even lighting and a simple background. Keep your face, shoulders, arms, and the relevant part of your body visible. Avoid heavy filters, extreme poses, and clothing that hides the outline needed for the preview.
Step 2: Prepare the Garment Image
Choose an image with the garment facing the camera and as little obstruction as possible. Screenshots can work when the full item remains visible and interface elements do not cover it.
Step 3: Generate the Preview
Create an account if required, upload both images, and start generation. Processing time can vary with traffic, image complexity, and the selected feature.
Step 4: Review the Output
- Check whether sleeves, neckline, hem, hands, and background look coherent.
- Compare color and overall volume rather than small construction details.
- Regenerate with cleaner inputs if the result contains obvious artifacts.
Use the Result Within Its Limits
Virtual try-on is a visual preview. It cannot confirm size, physical fit, comfort, fabric weight, or movement. Verify those details with measurements, product information, and a physical try-on when possible.
Next Steps
For more input guidance, read the full virtual try-on guide. To compare a garment now, open the Fitting Room.
How to use this guide next
If you already have a garment or shopping screenshot, see how LookMate AI online try-on compares silhouette, color, and proportion on your own photo. If you are still planning the look, start with AI outfit recommendations, then compare related ideas in the outfit topic library.
For more previews or cleaner exports, review the pricing and credit plans. For better try-on inputs, follow the virtual try-on guide.
Related reading
- How to Choose Clothes for Your Proportions - Use body proportions as one styling input, then assess garment measurements, comfort, tailoring, and the look you prefer.
- Seven AI Virtual Try-On Tools and Their Limits - Compare seven virtual try-on tools by access, supported products, personalization, and limitations without treating this list as a ranking.
- Five Breathable Summer Outfit Ideas for 2026 - Try five breathable summer outfit formulas built around linen, cotton, balanced proportions, and pieces that can be worn repeatedly.
- Learn how to try your next clothing item online - review supported images, preview scope, and limitations.
AI try-on is a visual preview of color, silhouette, and styling direction. It does not confirm size, physical fit, fabric feel, or comfort.
Share this article
Start here
Have a garment or shopping screenshot ready?
Upload your photo and garment image first. Create a free account when you generate; 3 starter credits cover one standard preview.
Explore More
Continue reading
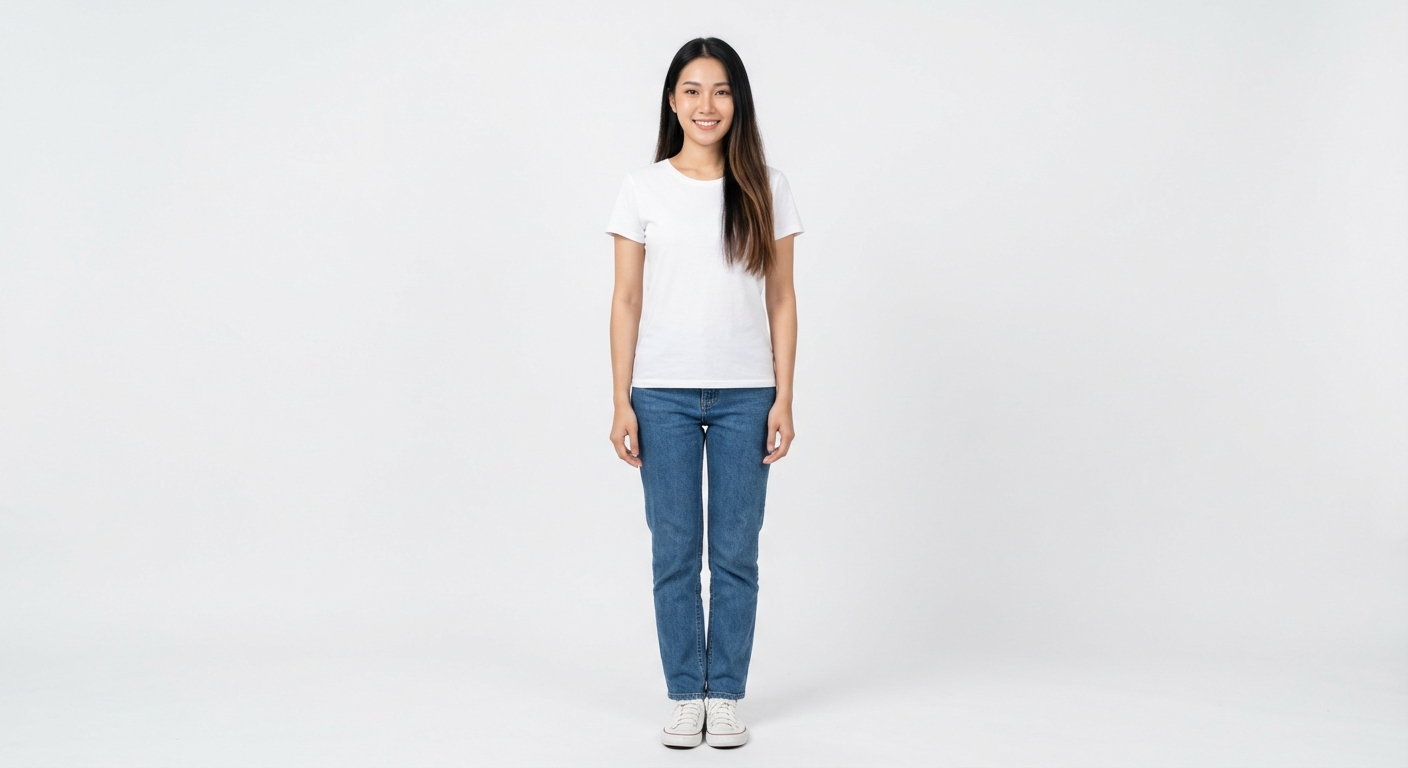
How to Choose Clothes for Your Proportions
Use body proportions as one styling input, then assess garment measurements, comfort, tailoring, and the look you prefer.
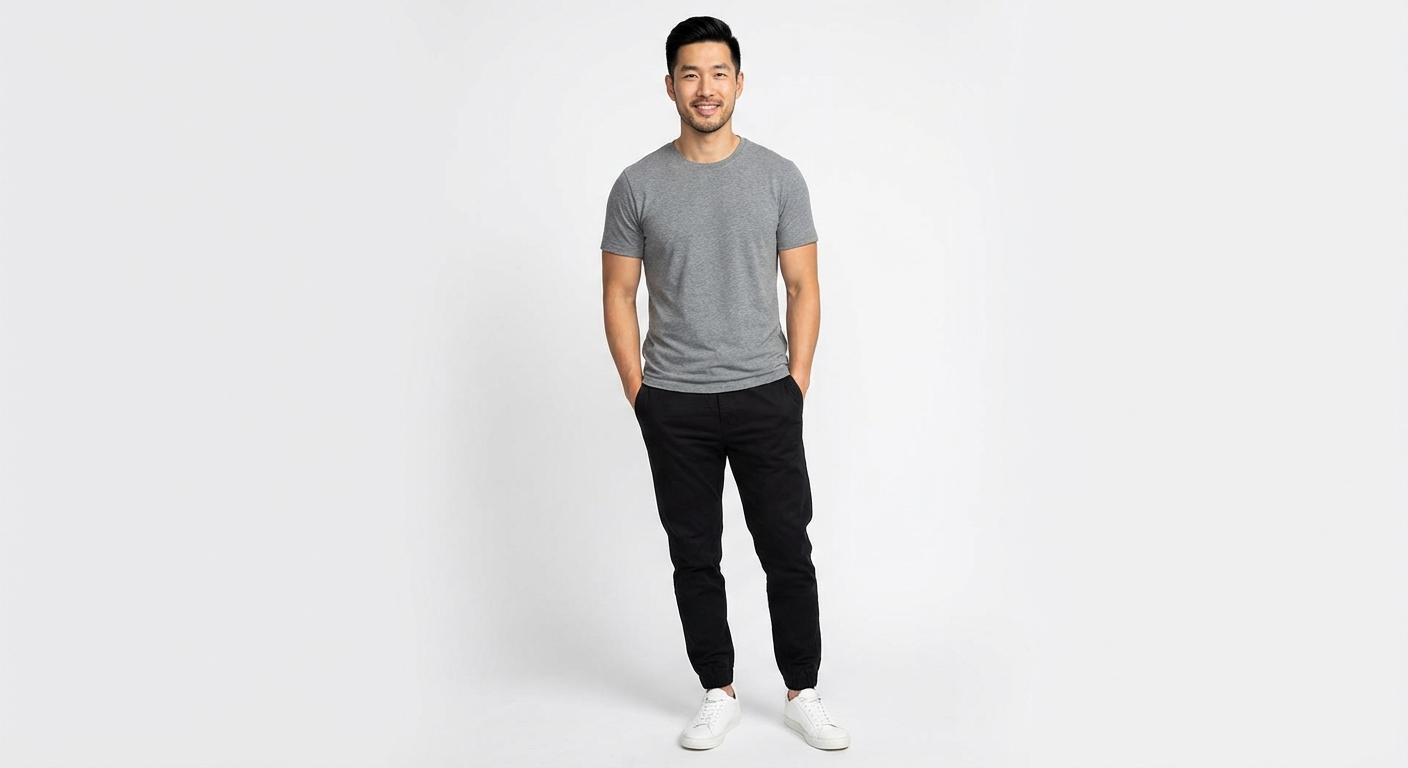
Seven AI Virtual Try-On Tools and Their Limits
Compare seven virtual try-on tools by access, supported products, personalization, and limitations without treating this list as a ranking.
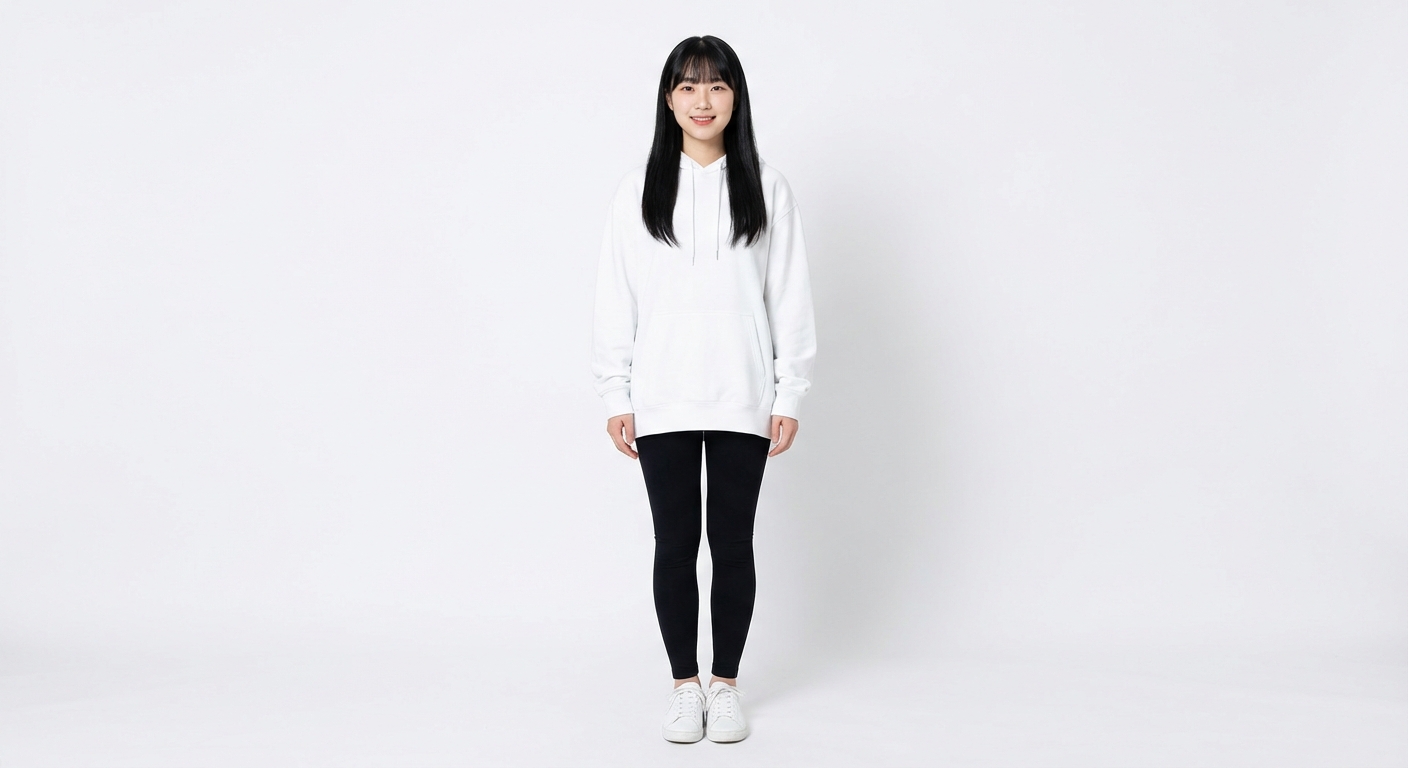
Five Breathable Summer Outfit Ideas for 2026
Try five breathable summer outfit formulas built around linen, cotton, balanced proportions, and pieces that can be worn repeatedly.